- From within the application, select the Bluebeam tab.
- Click
 Change Settings.
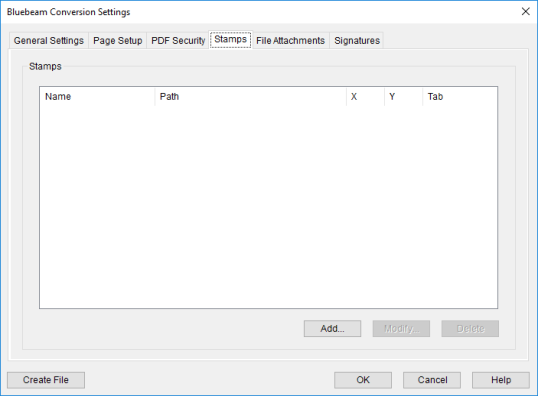
The Bluebeam Conversion Settings dialog box appears.
-
Select the Stamps tab.

-
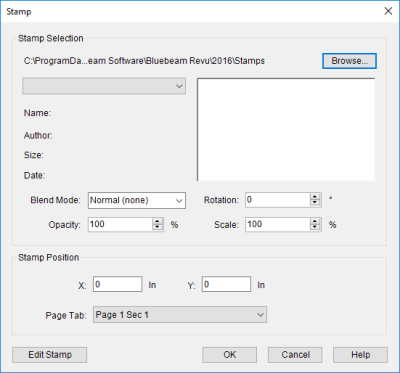
Click Add. The Stamp dialog box appears.

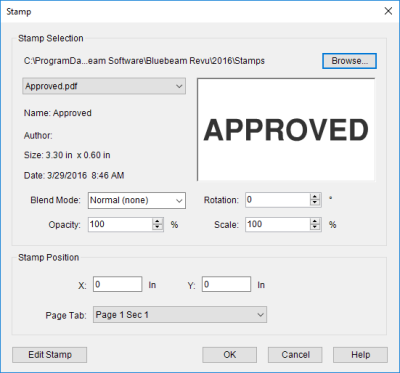
- To select an existing stamp, click Browse then navigate to the desired directory. The Bluebeam Office Plugin is preloaded with a number of stamps in the default directory, or the directory may be changed to a local or network folder containing the desired stamps. Once the desired directory has been selected, the stamps it contains will be available in the list below. Select the desired stamp.
- To modify the appearance of the stamp in PDFs created using the Bluebeam Office Plugin, use any or all of the following options:
- Blend Mode acts as a filter for determining which pixels to display. See Line Merge for a more detailed discussion of the Blend Mode options.
- Rotation turns the stamp by the number of degrees entered.
- Opacity determines the transparency of the stamp, measured as a percentage, of the Stamp, where a value of 100% is completely opaque and a value of 0% is completely transparent.
- Scale resizes the Stamp on the face of the document by the specified percentage.
- Position the stamp on the document with the following settings:
- X and Y coordinates determine where on the page the stamp appears, referenced from the upper-left corner of the page.
- Page Tab (in Word), Sheet Tab (in Excel), or Slide Tab (in PowerPoint) determines on what page/sheet/slide the stamp appears. Selecting All Pages will place the stamp on each page that is printed.
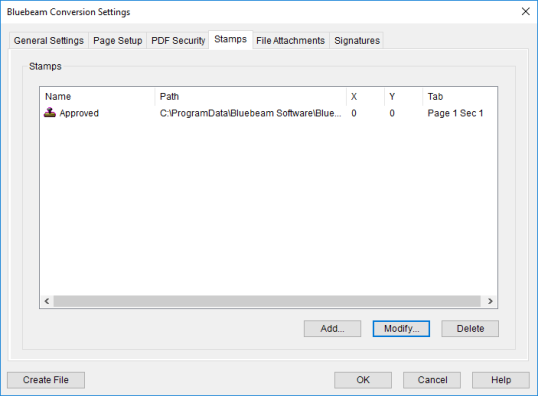
- Click OK.

